TLDR: Good tools are important, still many researchers use old and complicated setups for working with and on remote systems. Tmux + mosh are a good combination for this. There is a mosh/ tmux tutorial for working on remote servers at the end.
When I starting working in my research project I was aware I would be working with remote systems. Most of my experience working with remote systems was from previous web projects, configuring servers and running webservers. Having long running jobs that might take days to finish was new to me. Also the amount of data preprocessing that comes with working in ML / speech recognition was not exactly what I expected. In this post I want to describe how my setup changed since I started working in my research project and of course give a more detailed description of my current remote setup and a tutorial to adopt it.
The way I started
Local
- Windows 10
- Windows Subsytem for Linux (WSL)
- bash
- vscode
- German keyboard layout
- Docker
Remote
- nohup
- screen
- ssh
- Docker
- nano
- Docker
My current setup
Local
- Mac OS / Ipad OS
- iTerm2
- zshell
- vscode
- US layout with mappings for German umlauts
- Docker + docker-compose
- pycharm
- vim
- ssh port forwarding
Remote
- mosh
- tmux
- vscode + ssh
- vim
- Docker + docker-compose
All of the tools are worth their own blogpost and some of the above mentioned I will discuss in detail in future posts and the rationale behind using them vs. their predecessors.
OS
One of the most important changes I made was the OS. As a former Windows administrator this was a hard step as up to that point I have never used any other OS on a daily basis. Together with changing my keyboard layout at the same time this presented a challenge at first but paid of since. Windows is just not for you if you’re working in ML research.
I chose a Mac over a Linux distribution mostly because you can use Microsoft Office, which in German institutes is very important as basically the whole adminstration is build on word forms. Also especially with regard to mobile working the magic touchpad is unparalleled in it’s performance. The guestures are intuitive and can easily be integrated in mobile workflow. In the end this comes down to personal preference. But when you’re using Windows you will not be as productive as with a Unix based system, period.
Keyboard Layout
This is something my supervisor suggested and I went along with it. When you’re a developer a quick look at the keyboard layouts will immediately show you the benefits of using a US layout. Especially brackets, slashes, pipe and smaller as well as greater symbols are in easy reach and a lot of keyboard shortcuts in shell applications instantly make sense where they did not before. This is something I highly recommend, even though the pain in the first couple of months is high. But the gains will outweigh the initial pains, especially when you’re working a lot with the shell. This is also true for Spanish/French layouts. Give it a shot!
Working with long running jobs & picking work up where you left it
I am aware that nothing I will write and describe here will probably be new to people that have a long history of working with remote systems. But during my PhD I encountered many other students as well as experienced scientist who were only using very basic tooling and therfore wasted a lot of time and energy by coping with sub optimal systems and setups. I think they faced the same issues as I did at first but never found a very good solution. Many won’t have the benefit of working together with very experienced software engineers and operations specialists that know how to point them in the right directions without being dogmatic. So writing this blog post is motivated by this. I hope somebody will stumble upon it and benefit from my learnings.
So at the beginning handling jobs running longer than one hour was new to me. So, before listening and talking to them I did what everyone woud do… I googled. Probably not very well, so I found nohup and sent my jobs to the background, piping outputs to some temporary file but was not very happy I could not really reattach (I know there is disown/ reptyr, but srsly, that is just not worth the hussle) to jobs and all in all the solution with the temporary file was not very comfortable.
The next thing I tried was screen. So when using screen you don’t have to worry about your ssh session disconneting and you get a nice command prompt that at first is not really any different than what you would normally use. If you go to screen command mode, you are able to put the process in the background and disconnect from ssh anytime. After reconnecting you can just attach back to it and get your screen session back, you can split the session and use named sessions as well as mutliple session. There is tons of stuff you can do with that beside these featrues, but at least to me it was not very comfortable. It was ok, way better than nohup, but It just didn’t do it for me.
Then there came tmux. I was not actively looking for an alternative to screen and stumbeled upon tmux somewhat by chance. I was watching a talk by Martin Leyrer at the GPN18 about “Modern Command Line Applications (highly recommended if you understand German link to the talk). The way it worked was somewhat intuitive and it had a lot of nice options. Copy & paste buffer, accidental disconnects don’t matter at all, window naming works better than in screen. Splitting panes works like a charm. The keybindings are easy to change and somewhat familiar. It’s also possible to send keys to other panes and much more. The combination of tmux and mosh became the my most used tools. As it lets me easily reconnect to my old sessions that kept history and let me pick up my work, exactly where I left it.
mosh & tmux
Ever been on a train in Germany with bad mobile internet connection? Mosh means mobile shell and that’s exactly what it is and why you need it! You need not worry about anything. It just reconnects to your open session as soon as the network connection is enabled again. So you need not worry connecting to other VPNs, working on a train/ car or in the countryside. mosh has a server side component you need to install and a client. It’s basic use is pretty much the same as with ssh.
basic mosh usage
mosh [your-user-name@]your-server
That’s it, easy as pie! Depending on your setup you might be prompted for your ssh password but that’s it. Still, once you close your terminal window, the session won’t survive that. And that’s where tmux comes into play.
Combining it with tmux.
Creating a mosh connection and starting a named tmux session:
mosh [your-user-name@]your-server -- tmux new -s your-tmux-session-name
So, now you’re safe. Your mosh session will keep up and reconnect to the session as long as your terminal window is open. Once you close it, you can still reattach to the tmux session. Just start your mosh shell command again and right away connect seamlessly to your old tmux session an pickup things where you left them.
seamlessly connect to your named tmux session with mosh
mosh [your-user-name@]your-server -- tmux a -t your-tmux-session-name
Now you’re basically settled. This is a setup that will survive unintentional disconnects, changing VPN’s, power outages or whatever comes your way. All it takes to get you started are three simple commands and you’ll never have a problem with loosing your work in a broken session ever again.
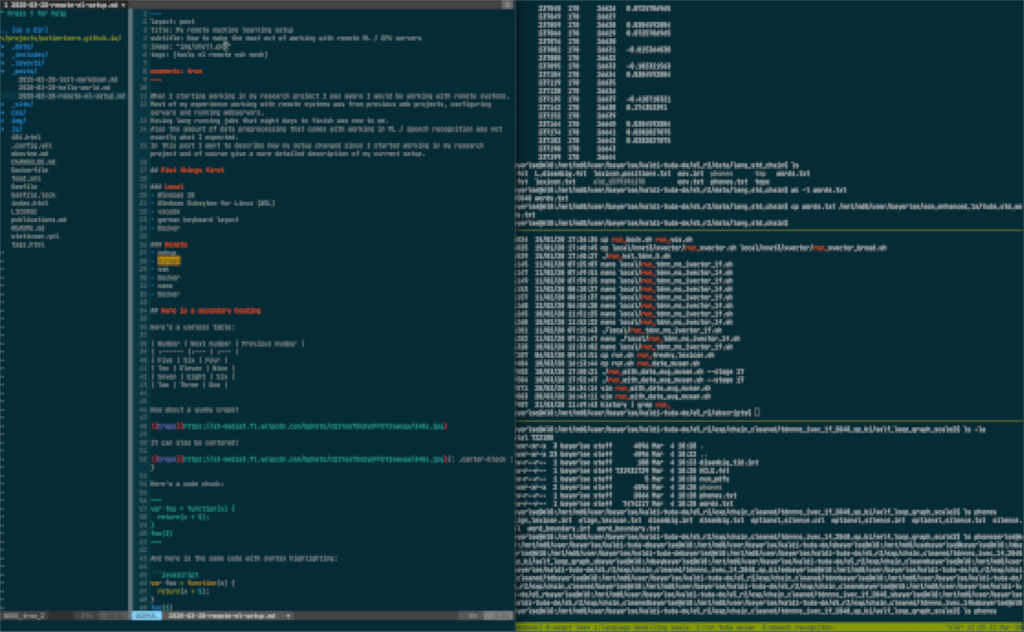
This is how my tmux/ mosh sessions look like:
A word on tmux and ssh in general
tmux is immensily powerful. You can do split screens, live session updates over mutliple windows, tabs and many other things. You can also tweak everything with your .tmux.conf which I use in it’s most basic version, with just one line added to enable mouse scrolling.
cat ~/.tmux.conf
setw -g mouse on
A very good cheat sheet for exploring can be found in the following gist.
Use ssh keys & ssh/config
Get rid of passwords as much as you can. It’s more convenient and more secure. Generate an ssh key and upload it to the servers you want to access. To increase security, set a password on the key. But that still leaves just one password and not many. Mosh will automatically make use of your ssh configuration as well as your ssh keys.
You can generate, a short, easy to copy and secure ssh key by typing:
ssh-keygen -t Ed25519
This creates two files ~/.ssh/id_ed25519.pub and ~/.ssh/id_ed25519.
Upload the public key to your server
You can do this by using ssh-copy-id, type your password one last time and now log on to the system by using the key without any more interaction (you can also paste the content of .ssh/authorized_keys to .ssh/authorized_keys on the remote system manually).
ssh-copy-id -i .ssh/id_ed25519.pub username@hostname
.ssh/config contains host configurations for your servers. You name them and after that don’t have to type to fully quallified name ever again. Just the short name you picked for the server. An example host configuration looks like this:
example .ssh/config
cat ~/.ssh/config
Host vulkan
	HostName nondescriptivename.subdomain.verylongdomain.com
	User username
This config means you have a server named nondescriptivename.subdomain.verylongdomain.com and your user is username. The name you can use now, without ever typing server nor username again is vulkan.
So modifying the call from above:
mosh vulkan -- tmux new -s your-tmux-session-name
I hope you enjoyed this post and could learn something from it. Everyone I have shown the tmux/ mosh combination so far started using it. This way of handling things made my life so much easier. I think this post has enough information already, so I will leave it for now and have a look at some of the other tools soon.
Stay save & I hope to see you soon!